Not too long ago, the introduction of React Context led to a wave of color theme switchers. For a brief, glorious moment, color theme switchers dethroned TODO apps as the default tutorial.
However, these color theme switchers all shared a flaw: they were all (a little bit) broken. When you selected a non-default theme, they would either:
- Briefly flash the wrong color theme (which Chris Coyier dubbed FART, as only Chris Coyier can)
- Delay the rendering of the page until client-side JavaScript is able to load and execute to update the theme
Both of these workarounds aren’t ideal, and there haven’t been many (any?) solutions offered that don’t require running a server. In fact, Chris summed up his article on this problem by saying:
I’m not convinced there is a good way to avoid FART without a server-side language or force-delayed page renders.
But — good news, everybody! — I have a solution that will allow any site, whether it’s built with a server-side language, a JS framework, or plain ol’ HTML and CSS, to add a color theme switcher that works without client-side JS and doesn’t delay the page render.
To do this, we’re going to use edge computing, which might sound like a lot, but only requires about 60 lines of code and a free Netlify account to add.
Jump to the end: demo · source code
1. Start with a basic HTML and CSS site
For this tutorial, we’ll be working from this starter repo.
The solution we’re building requires the use of Netlify Edge Functions, which means we’ll need the Netlify CLI for local testing and to deploy the site to Netlify.
Clone and deploy the repo
For convenience, click here to create and deploy the repo all at once. This will take you through Netlify’s deployment flow, connect your GitHub, create a copy of the repo, and deploy it to your Netlify account.
Set up local development
Once you’ve got that set up, set up the repo locally (make sure to replace <username> and <repo> with your own username and repo name):
# clone your copy of the repo
git clone git@github.com:<username>/<repo>.git

# move into the cloned repo
cd <repo>

# OPTIONAL: install the Netlify CLI globally
# (v12.1.0 at time of writing)
npm i -g netlify-cli

# start the Netlify CLI
ntl dev

# or, if you don't have the CLI installed globally:
# npx ntl dev
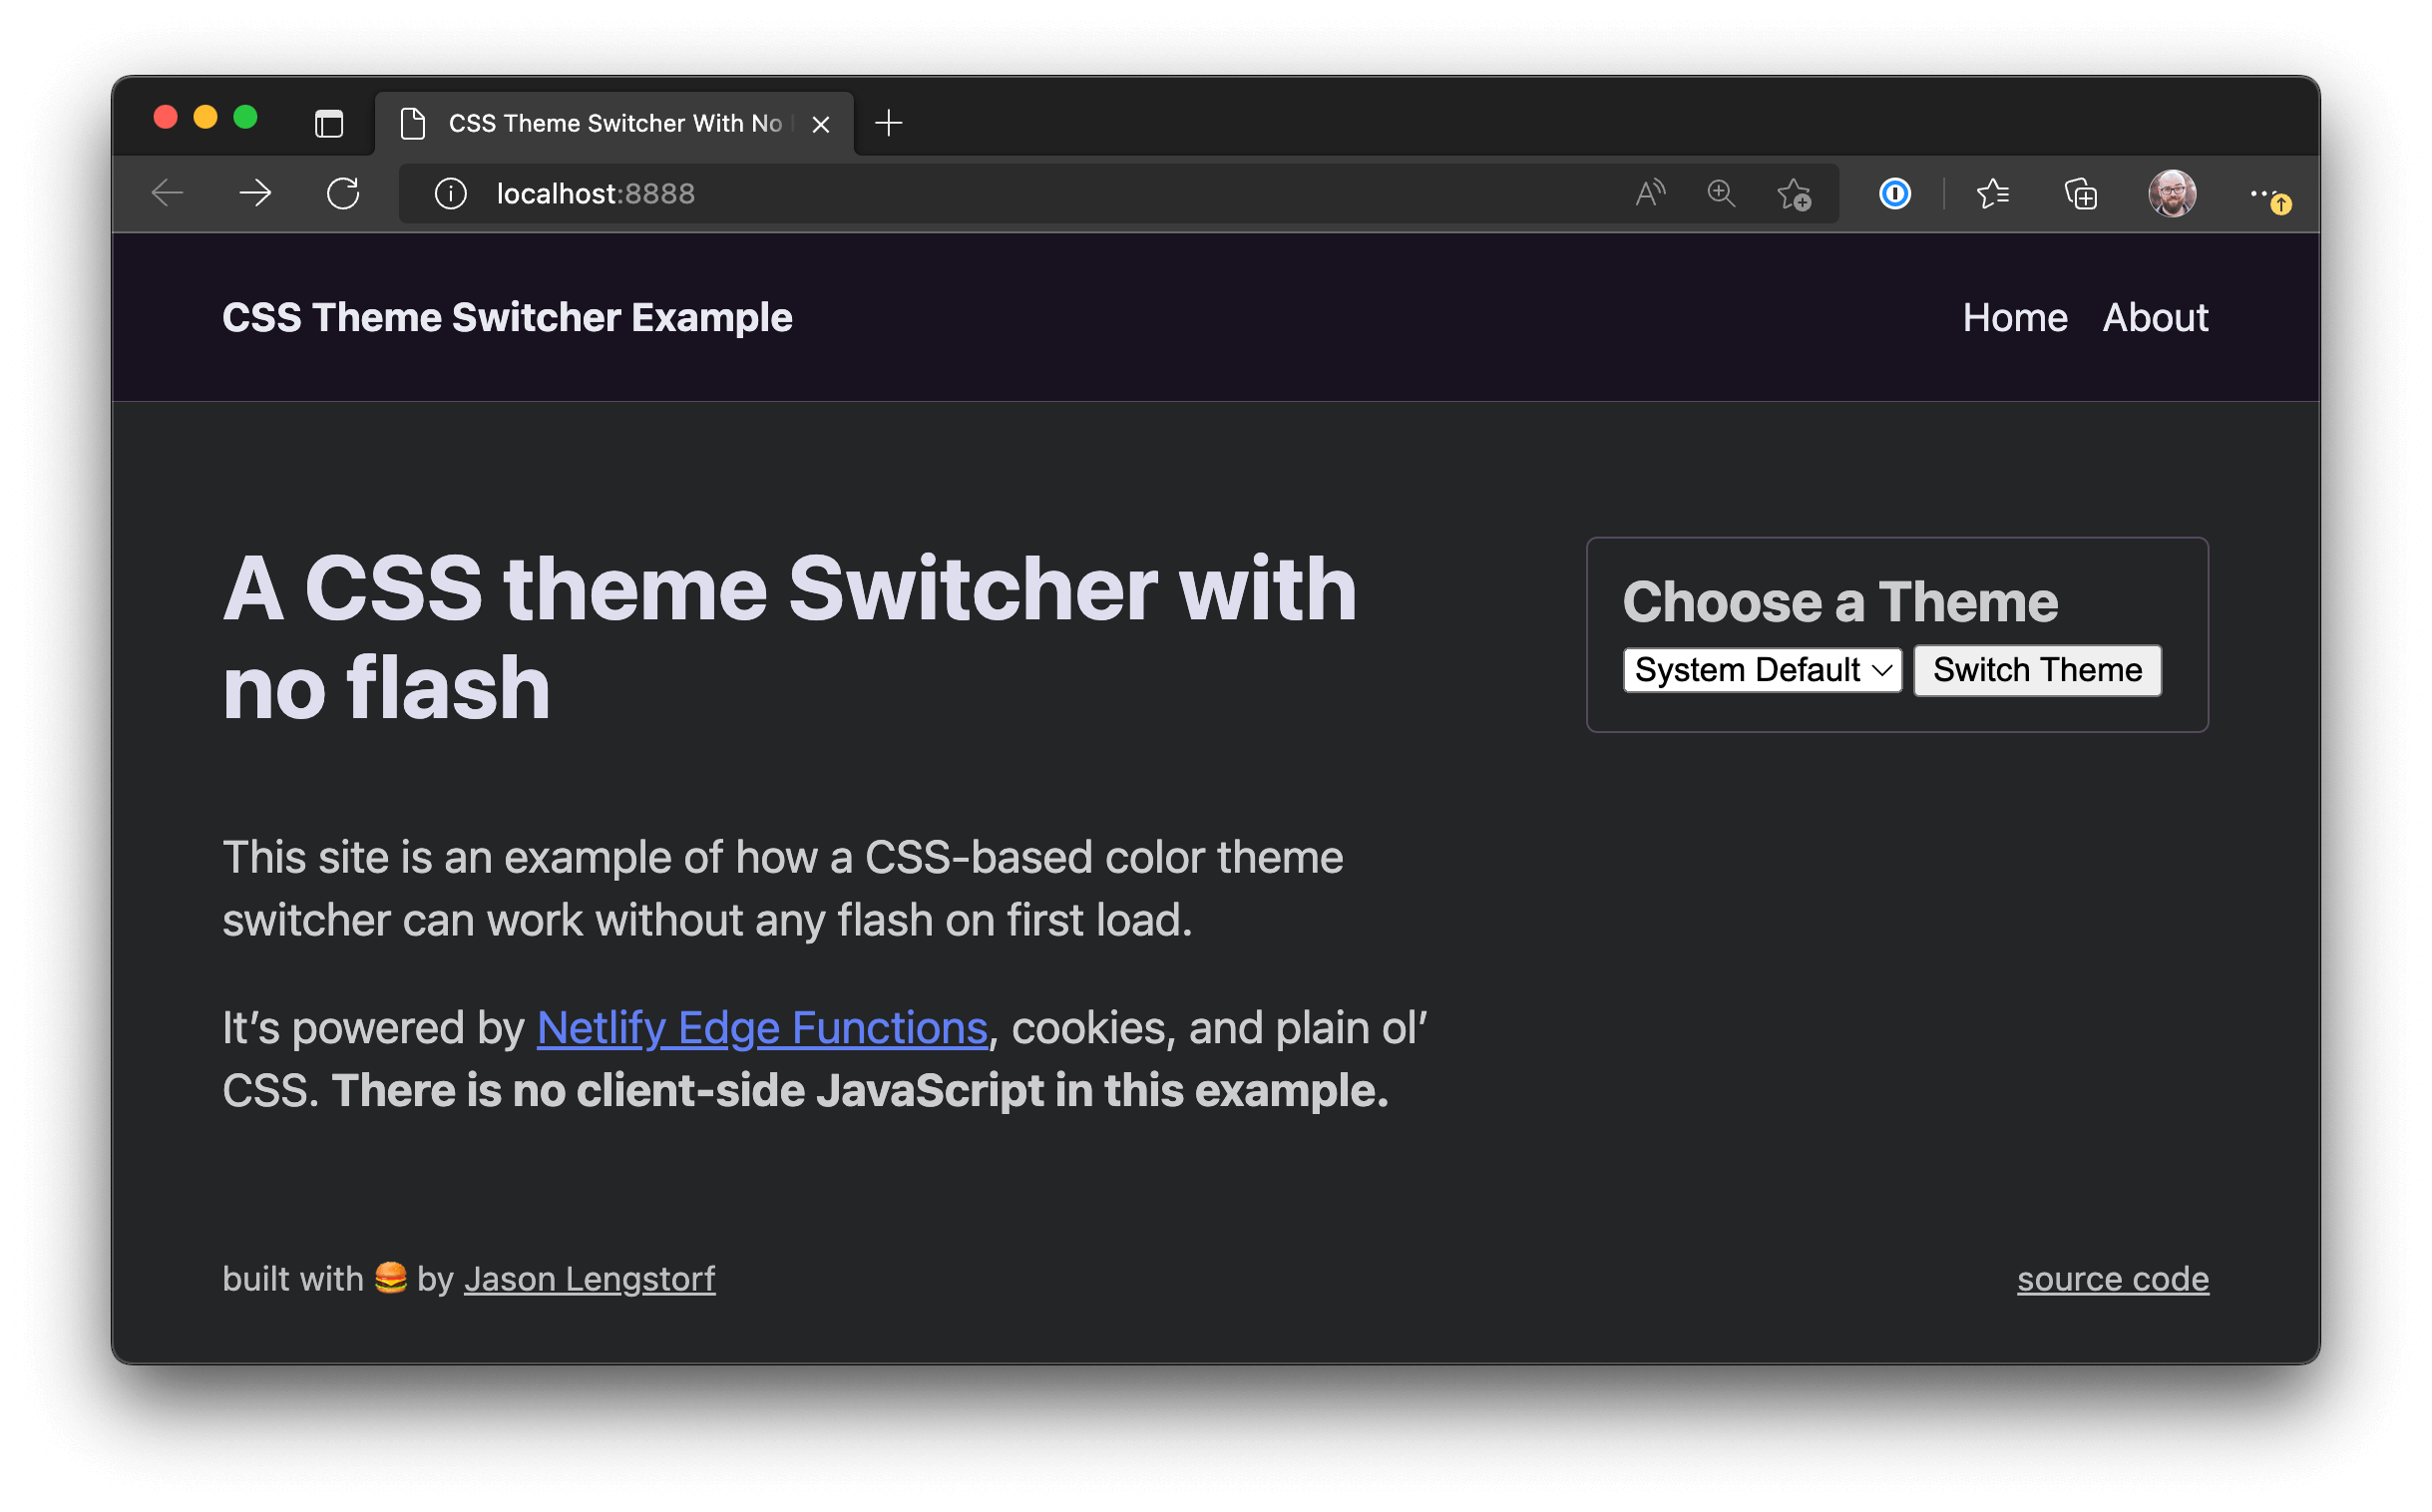
This will start the site at localhost:8888:

There is a theme selection dropdown in the sidebar. Right now, choosing a new theme doesn’t change anything — it just adds a ?theme=<selected_theme> to the URL.
Get familiar with the code
Inside the repo, you’ll see a src folder that has two HTML files and a CSS file inside.
Open src/index.html and take a look at the top of the file:
<!DOCTYPE html>
<!--     ℹ️ this is the important thing -->
<!--            ⌄⌄⌄⌄⌄⌄⌄⌄⌄⌄⌄⌄⌄⌄⌄⌄⌄⌄    -->
<html lang="en" data-theme="default">
  <!--          ^^^^^^^^^^^^^^^^^^^^    -->
  <head></head>
</html>
The data-theme="default" is the critical piece of this markup.
Below that, there’s a form allowing people to choose their theme:
<aside>
  <h2>Choose a Theme</h2>
  <form>
    <select title="Choose a theme" name="theme">
      <option value="default">System Default</option>
      <option value="light">Light</option>
      <option value="dark">Dark</option>
      <option value="pink">Pink</option>
    </select>
    <button type="submit">Switch Theme</button>
  </form>
</aside>
The rest of the markup sets up the example page, but doesn’t have any impact on the theme switcher functionality and can be ignored.
Next, open up src/styles.css and look at the top of the file.
html[data-theme='default'],
html[data-theme='light'] {
  --color-bg: #fcfaff;
  --color-header-bg: #2a1f3f;
  --color-header-text: #fcfaff;
  --color-border: #54495f;
  --color-link: #1600ed;
  --color-text: #464064;
  --color-text-heading: #1d1036;
  --color-text-muted: #575280;
}

html[data-theme='dark'] {
  --color-bg: #242526;
  --color-header-bg: #18111f;
  --color-header-text: #e9e9f1;
  --color-border: #54495f;
  --color-link: #617ff5;
  --color-text: #cdcdcf;
  --color-text-heading: #dedeee;
  --color-text-muted: #bebebf;
}

/* ...full file omitted for brevity... */
By targeting the html element using the data-theme attribute, we’re able to update the color theme by changing CSS variable values.
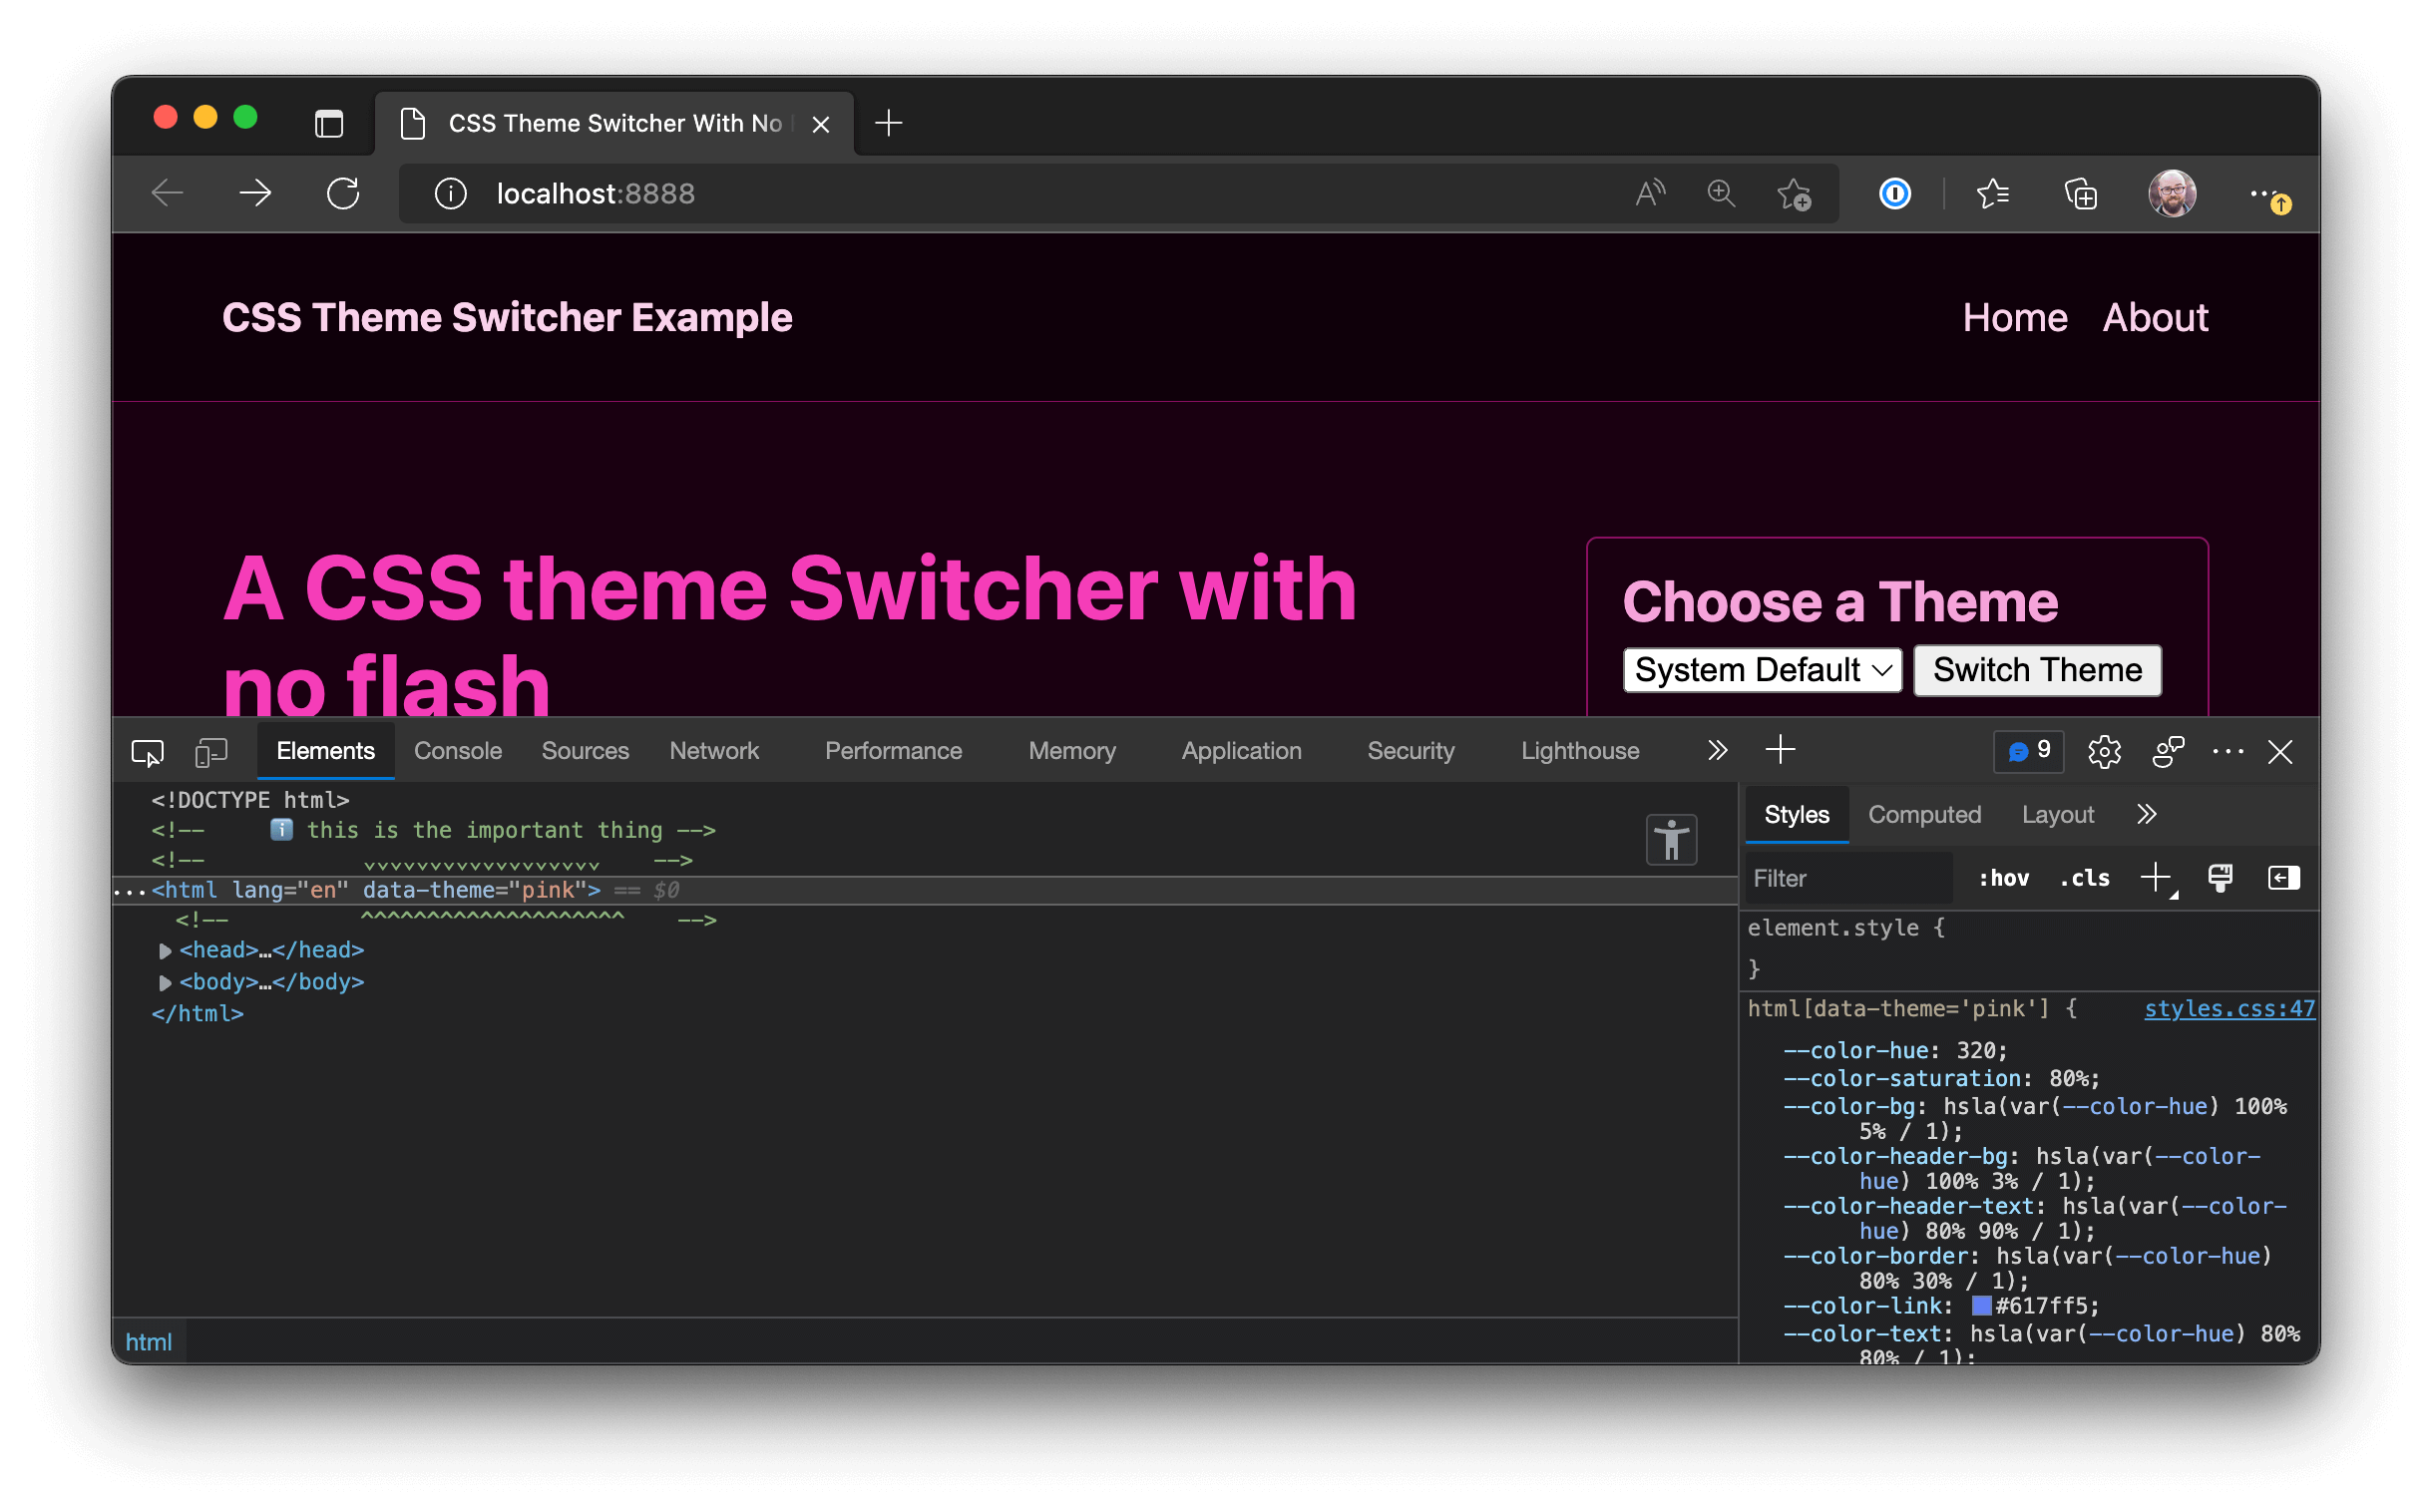
To see this in action, open the inspector in your browser and edit the attribute to data-theme="pink". This will cause the site’s theme to change.

For our color switcher to work, we need to handle form submissions from the theme chooser, store that value somewhere, then use the value to update the data-theme attribute.
2. Create an edge function
What is an edge function?
An edge function is a small piece of business logic that’s executed at the network’s edge (which is another way of saying “as close to the user as possible”).
This logic is executed between receiving the request from the user and returning the response from the network. An edge function can modify the response before it’s returned — if you’ve ever worked with middleware before, it’s similar to that.
The outcome of using edge functions is that you can modify responses based on details about the specific request — the user’s cookies, geolocation, or other data sent in the request — without requiring the whole site to be powered by a server or sending client-side JavaScript. This allows us to create personalized experiences in a way that’s performant and pleasant to use without a steep learning curve or changing our entire codebase to support edge functions.
Create a Netlify Edge Function in your project
To set up a Netlify Edge Function, create a new folder called netlify, and another folder called edge-functions inside of it. Edge functions will be automatically detected by Netlify when they’re stored in this folder structure.
Create a new file at netlify/edge-functions/color-theme.ts. Inside, let’s create the “hello world” of edge functions:
export default async () => {
  return new Response('hello world');
};
Next, we need to configure which route or routes should trigger the edge function. For a color theme, we want that to affect every page on the site, so we’ll target all routes.
Open netlify.toml at the root of your project and add the following:
  [build]
    publish = "src"

+ [[edge_functions]]
+   path = "/*"
+   function = "color-theme"
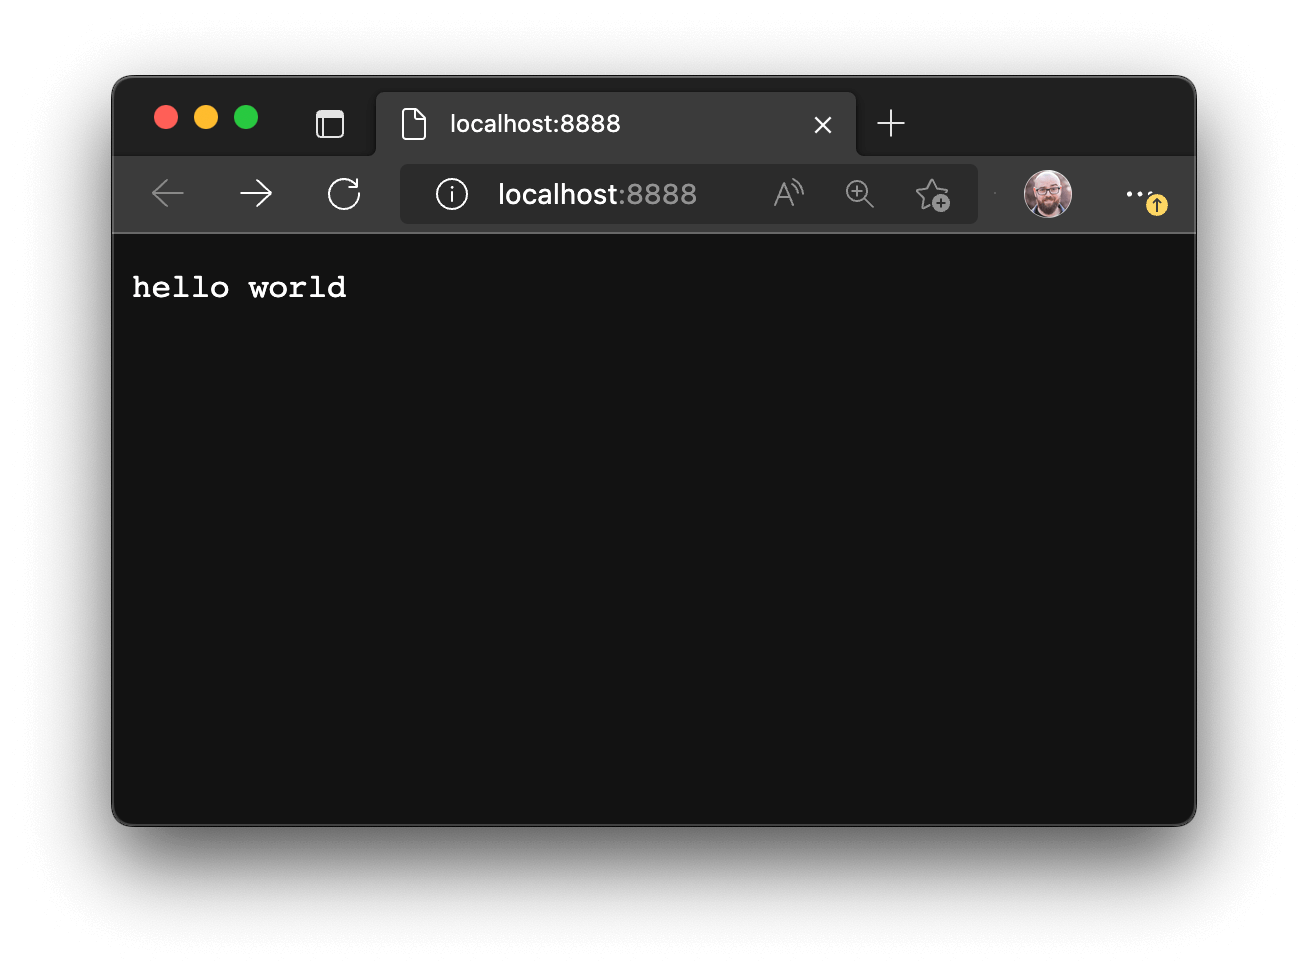
Stop the server (ctrl + C in your terminal), then restart it using ntl dev — localhost:8888 is replaced by the response from our edge function.

Return the original response through the edge function
If an edge function doesn’t return anything, by default the page will remain unchanged. This can be helpful for logging or setting cookies without modifying the response itself.
In this example, however, we do want to modify the response, so we need to send the original page response back.
To do this, modify netlify/edge-functions/color-theme.ts with the following:
+ import type { Context } from 'https://edge.netlify.com/';
+
- export default async () => {
+ export default async (request: Request, context: Context) => {
+   const res = await context.next();
+
+   console.log(request.url);
+
-   return new Response('hello world');
+   return res;
  };
Reload the page in your browser and the site will render the same as it did before the edge function was added. However, if you look in the terminal, you’ll see that URLs were logged:
◈ Reloading edge functions...
◈ Reloaded edge function color-theme
[color-theme] http://localhost:8888/
[color-theme] http://localhost:8888/styles.css
The HTML file ran through the edge function, which is exactly what we wanted!
However, the CSS file also triggered the edge function, and that’s not what we wanted.
Only transform HTML files
To make sure edge functions only execute on the requests we intend to modify, we can check the Content-Type header and bail if it’s not text/html.
Update netlify/edge-functions/color-theme.ts with the following:
  import type { Context } from 'https://edge.netlify.com/';

  export default async (request: Request, context: Context) => {
    const res = await context.next();
+   const type = res.headers.get('content-type') as string;
+   if (!type.startsWith('text/html')) {
+     return;
+   }

    console.log(request.url);

    return res;
  };
Reload the page and you’ll see that only the URL for the HTML itself shows up in the terminal logs now:
◈ Reloading edge functions...
◈ Reloaded edge function color-theme
[color-theme] http://localhost:8888/
3. Update the HTML with the correct theme
To update the HTML with our correct theme, we need to do three things:
- Check a cookie to track which theme is currently selected
- Set the cookie to a new theme value when the user makes a theme selection
- Transform the
data-themeattribute in the HTML to insert the current theme - Update the
selectedattribute of the theme switcher to make sure the current theme is selected in the dropdown
Use a cookie to track the currently selected theme
In Netlify Edge Functions, cookie management is simplified thanks to the built in context object.
In netlify/edge-functions/color-theme.ts, make the following changes:
  import type { Context } from 'https://edge.netlify.com/';

  export default async (request: Request, context: Context) => {
    const res = await context.next();
    const type = res.headers.get('content-type') as string;
    if (!type.startsWith('text/html')) {
      return;
    }

-   console.log(request.url);
+   const theme = context.cookies.get('lwj-color-theme') ?? 'default';
+   console.log({ theme });

    return res;
  };
Reload the page and see the theme logged in the terminal:
◈ Reloaded edge function color-theme
[color-theme] { theme: "default" }
We haven’t set the cookie yet, so it falls back to “default”.
Set a cookie with the selected theme
When someone chooses a new theme, it will submit the form to the same page and add the theme as a query string. This is the default behavior of a form that doesn’t have an action or method set.
In our app, the edge function will check for a query string and — if one is set — create a cookie using the selected theme.
Add the following to netlify/edge-functions/color-theme.ts:
  import type { Context } from 'https://edge.netlify.com/';

  export default async (request: Request, context: Context) => {
    const res = await context.next();
    const type = res.headers.get('content-type') as string;
    if (!type.startsWith('text/html')) {
      return;
    }

+   const url = new URL(request.url);
+
+   console.log(url.search);
+   if (url.searchParams.has('theme')) {
+     const availableThemes = ['default', 'light', 'dark', 'pink'];
+     const requestedTheme = url.searchParams.get('theme') ?? 'default';
+
+     console.log({ requestedTheme });
+     if (availableThemes.includes(requestedTheme)) {
+       context.cookies.set({
+         name: 'lwj-color-theme',
+         value: requestedTheme,
+         path: '/',
+         secure: true,
+         httpOnly: true,
+         sameSite: 'Strict',
+         expires: new Date(Date.now() + 30 * 24 * 60 * 60 * 1000),
+       });
+     }
+
+     return new Response('Redirecting...', {
+       status: 301,
+       headers: {
+         Location: url.pathname,
+         'Cache-Control': 'no-cache',
+       },
+     });
+   }

    const theme = context.cookies.get('lwj-color-theme') ?? 'default';
    console.log({ theme });

    return res;
  };
This code starts by turning the requested URL into a web standard URL interface, then checks to see if the query parameters include theme. If set, it checks the requested theme against the available themes, then sets a cookie with the requested theme.
Finally, to remove the query string from the URL, the code redirects to the current URL without the query string.
Transform the data-theme attribute
Now that we have the current theme name set in a cookie, we can use it to transform the request and set the displayed color theme.
To do this, we’ll use a powerful library called HTMLRewriter that allows us to update elements in the response using CSS-like selectors and a straightforward API.
Update netlify/edge-functions/color-theme.ts to import HTMLRewriter and the Element type, then set up the transform for the html element that updates the data-theme attribute:
  import type { Context } from 'https://edge.netlify.com/';
+ import {
+   HTMLRewriter,
+   Element,
+ } from 'https://ghuc.cc/worker-tools/html-rewriter/index.ts';

  export default async (request: Request, context: Context) => {
    const res = await context.next();
    const type = res.headers.get('content-type') as string;
    if (!type.startsWith('text/html')) {
      return;
    }

    const url = new URL(request.url);

    console.log(url.search);
    if (url.searchParams.has('theme')) {
      const availableThemes = ['default', 'light', 'dark', 'pink'];
      const requestedTheme = url.searchParams.get('theme') ?? 'default';

      console.log({ requestedTheme });
      if (availableThemes.includes(requestedTheme)) {
        context.cookies.set({
          name: 'lwj-color-theme',
          value: requestedTheme,
          path: '/',
          secure: true,
          httpOnly: true,
          sameSite: 'Strict',
          expires: new Date(Date.now() + 30 * 24 * 60 * 60 * 1000),
        });
      }

      return new Response('Redirecting...', {
        status: 301,
        headers: {
          Location: url.pathname,
          'Cache-Control': 'no-cache',
        },
      });
    }

    const theme = context.cookies.get('lwj-color-theme') ?? 'default';
    console.log({ theme });

-   return res;
+   return new HTMLRewriter()
+     .on('html', {
+       element(element: Element) {
+         element.setAttribute('data-theme', theme);
+       },
+     })
+     .transform(res);
  };
Save this and reload the browser. Choose a theme other than the default and see that it actually updates now.
However, the dropdown will always show “system default”, which isn’t ideal.
Update the currently selected theme in the dropdown
To update the dropdown, we need to add another transformation in our HTMLRewriter chain.
Modify netlify/edge-functions/color-theme.ts to transform the option element with a value that matches the currently selected theme and set that to selected="selected":
  import type { Context } from 'https://edge.netlify.com/';
  import {
    HTMLRewriter,
    Element,
  } from 'https://ghuc.cc/worker-tools/html-rewriter/index.ts';

  export default async (request: Request, context: Context) => {
    const res = await context.next();
    const type = res.headers.get('content-type') as string;
    if (!type.startsWith('text/html')) {
      return;
    }

    const url = new URL(request.url);

    console.log(url.search);
    if (url.searchParams.has('theme')) {
      const availableThemes = ['default', 'light', 'dark', 'pink'];
      const requestedTheme = url.searchParams.get('theme') ?? 'default';

      console.log({ requestedTheme });
      if (availableThemes.includes(requestedTheme)) {
        context.cookies.set({
          name: 'lwj-color-theme',
          value: requestedTheme,
          path: '/',
          secure: true,
          httpOnly: true,
          sameSite: 'Strict',
          expires: new Date(Date.now() + 30 * 24 * 60 * 60 * 1000),
        });
      }

      return new Response('Redirecting...', {
        status: 301,
        headers: {
          Location: url.pathname,
          'Cache-Control': 'no-cache',
        },
      });
    }

    const theme = context.cookies.get('lwj-color-theme') ?? 'default';
    console.log({ theme });

    return new HTMLRewriter()
      .on('html', {
        element(element: Element) {
          element.setAttribute('data-theme', theme);
        },
      })
+     .on(`option[value='${theme}']`, {
+       element(element: Element) {
+         element.setAttribute('selected', 'selected');
+       },
+     })
      .transform(res);
  };
Save and reload — it all works!
Fast, no flash, no client-side JavaScript color themes are possible without managing a server
Before edge functions entered the equation, there wasn’t a good solution for managing color themes without either some jank on the client side or some extra management on the server side. But today, we’re now able to get the benefits of server side HTML rendering without having to set up a server.
Edge computing gives us the capability to make small transforms on the fly, whether we’re updating static HTML or transforming SSR-generated pages in a framework like Next.js. It also means we can get some of the benefits of servers without having to pay for servers — edge functions are free!
View the full source code for this demo, or check out the live demo to try it for yourself.